Installation
INSTALLATION
PROCEDURE
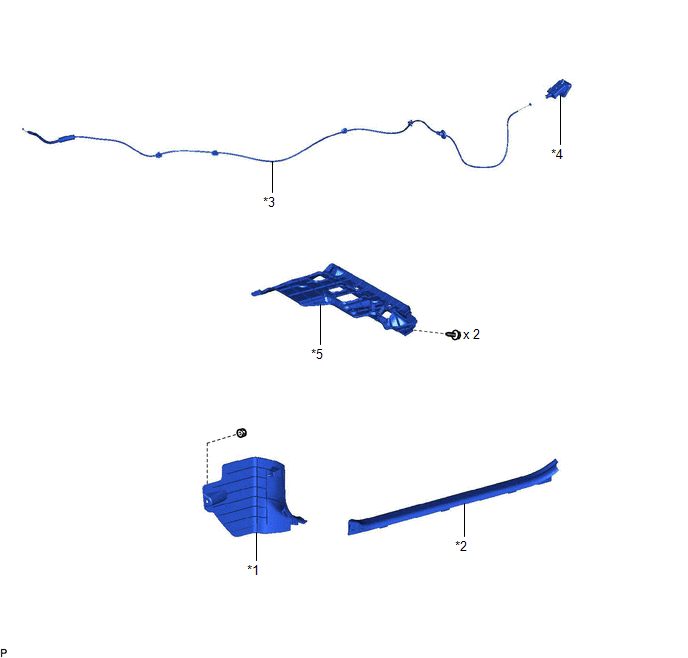
1. INSTALL HOOD LOCK CONTROL CABLE ASSEMBLY
(a) Pass the hood lock control cable assembly into the engine compartment.
(b) Engage the grommet.
(c) Engage the 5 clamps.
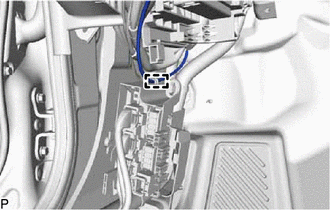
(d) Engage the clamp to install the hood lock control cable assembly.
2. INSTALL HOOD LOCK CONTROL LEVER SUB-ASSEMBLY
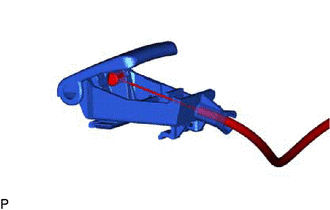
(a) Connect the hood lock control cable assembly to install the hood lock control lever sub-assembly.
3. CONNECT HOOD LOCK CONTROL LEVER SUB-ASSEMBLY
Click here

4. INSTALL NO. 1 INSTRUMENT PANEL UNDER COVER SUB-ASSEMBLY
Click here 
5. INSTALL COWL SIDE TRIM SUB-ASSEMBLY LH
Click here 
6. INSTALL FRONT DOOR SCUFF PLATE LH
Click here 
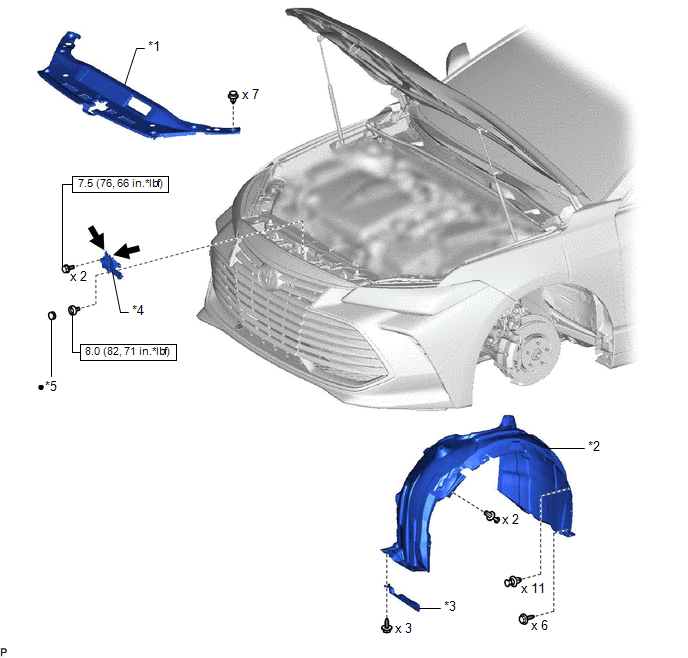
7. INSTALL HOOD LOCK ASSEMBLY
(a) Apply MP grease to the sliding areas of the hood lock assembly.
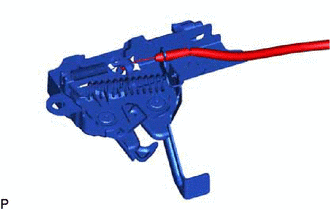
(b) Connect the hood lock control cable assembly to the hood lock assembly.
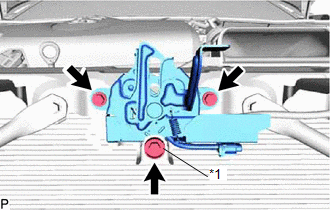
(c) Install the hood lock assembly with the 2 bolts and hood lock bolt.
Torque:
Bolt :
7.5 N·m {76 kgf·cm, 66 in·lbf}
Hood Lock Bolt :
8.0 N·m {82 kgf·cm, 71 in·lbf}
HINT:
The hood lock nut cap is a non-reusable part. Be sure to install it after inspecting and adjusting the hood sub-assembly.
(d) Connect the connector.
8. ADJUST HOOD SUB-ASSEMBLY
Click here

9. INSTALL COOL AIR INTAKE DUCT SEAL
Click here 
10. INSTALL FRONT FENDER SPLASH SHIELD SUB-ASSEMBLY LH
HINT:
Use the same procedure as for the RH side.
Click here

11. INSTALL FRONT WHEEL OPENING EXTENSION PAD LH
HINT:
Use the same procedure as for the RH side.
Click here

12. INSTALL FRONT WHEEL LH
Click here

Removal
REMOVAL
PROCEDURE
1. REMOVE FRONT WHEEL LH
Click here 
2. REMOVE FRONT WHEEL OPENING EXTENSION PAD LH
HINT:
Use the same procedure as for the RH side.
Click here

3. REMOVE FRONT FENDER SPLASH SHIELD SUB-ASSEMBLY LH
HINT:
Use the same procedure as for the RH side.
Click here

4. REMOVE COOL AIR INTAKE DUCT SEAL
Click here 
5. REMOVE HOOD LOCK ASSEMBLY
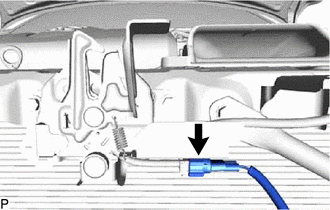
| (a) Disconnect the connector. | |
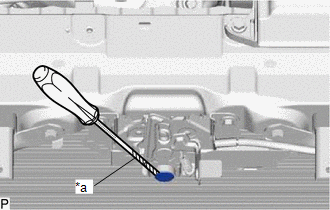
| (b) Using a screwdriver with its tip wrapped with protective tape, remove the hood lock nut cap. |
|
| (c) Remove the 2 bolts and hood lock bolt. | |
| (d) Disconnect the hood lock control cable assembly to remove the hood lock assembly. |
|
6. REMOVE FRONT DOOR SCUFF PLATE LH
Click here

7. REMOVE COWL SIDE TRIM SUB-ASSEMBLY LH
Click here 
8. REMOVE NO. 1 INSTRUMENT PANEL UNDER COVER SUB-ASSEMBLY
Click here 
9. DISCONNECT HOOD LOCK CONTROL LEVER SUB-ASSEMBLY
Click here 
10. REMOVE HOOD LOCK CONTROL LEVER SUB-ASSEMBLY
| (a) Disconnect the hood lock control cable assembly to remove the hood lock control lever sub-assembly. |
|
11. REMOVE HOOD LOCK CONTROL CABLE ASSEMBLY
(b) Using a screwdriver, disengage the 5 clamps and grommet as shown in the illustration.
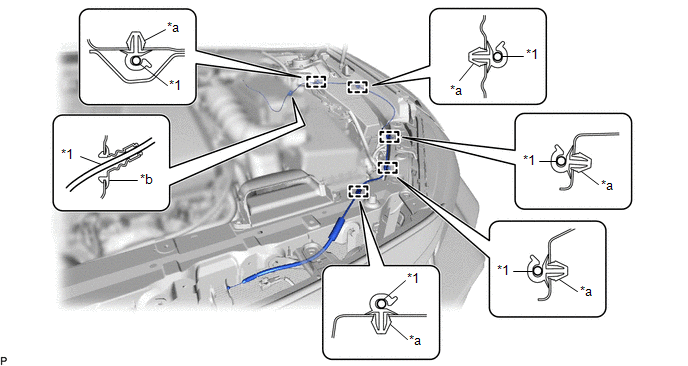
|
*1 | Hood Lock Control Cable Assembly |
- | - |
|
*a | Clamp |
*b | Grommet |
HINT:
Tape the screwdriver tip before use.
(c) Pull the hood lock control cable assembly from the engine compartment to remove it.
